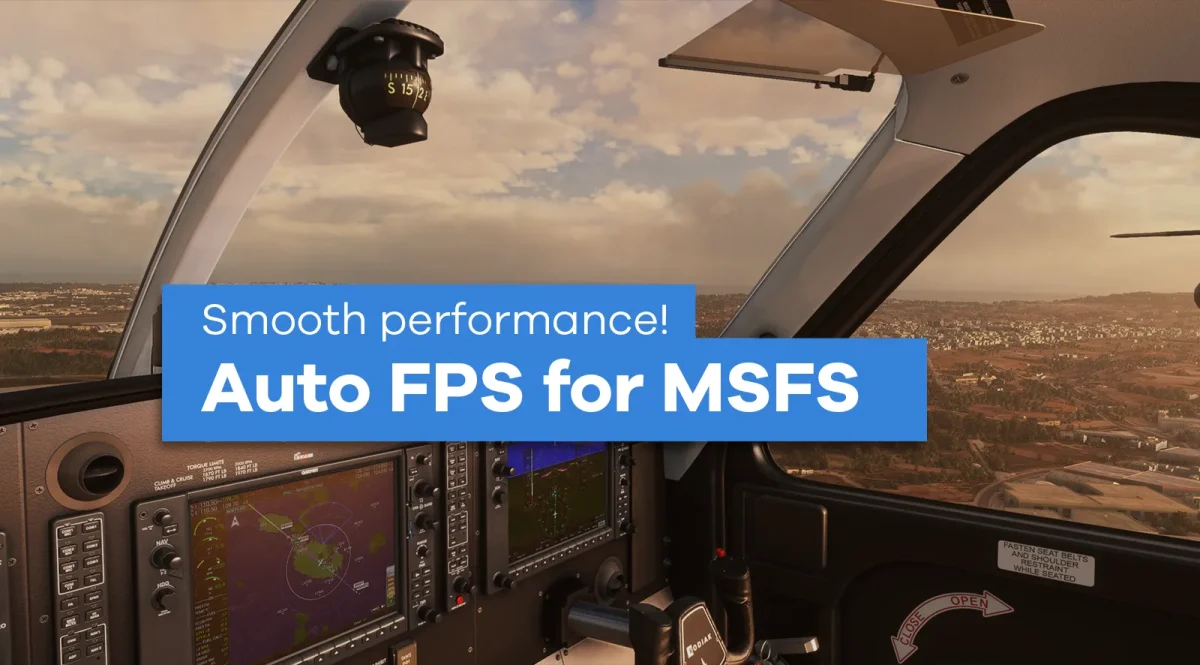
Auto FPS for MSFS automatically adjusts your TLOD and cloud settings for consistently smooth performance


It’s one of the holy grails of flight simulation: achieving the perfect balance between breathtaking visuals and smooth, responsive performance. Simmers are constantly challenged by this, juggling system settings and hardware setups. Well, at least the less fortunate ones who are unable to churn out thousands for the latest and greatest hardware.
But, as is often the case, the community keeps on giving, finding solutions to all predicaments. Today, we’re bringing you an absolute game-changer, an ingeniously simple tool that can have a dramatic impact on your experience and help you reach that elusive balance. It’s called Auto FPS – a small app that dynamically adjusts your simulator’s settings to maintain a desired FPS. And it works beautifully!
How it works
Auto FPS does exactly what its name implies: you set your desired FPS in the app, and then Auto FPS works its magic by dynamically adjusting two crucial settings: terrain level of detail (TLOD) and cloud quality.

- TLOD: This setting determines the radius of detailed terrain around the aircraft. A higher TLOD showcases intricate details like individual trees and buildings at higher distances, while a lower TLOD sacrifices some of that detail for performance gains.
- Cloud Quality: As the name suggests, this setting influences the visual complexity of clouds. High-quality clouds appear more realistic but demand more processing power.

Auto FPS continuously monitors your frame rate. If it dips below your target, the program intelligently adjusts your TLOD and cloud quality. It prioritizes maintaining your desired frame rate while ensuring the visual experience remains immersive.
Auto FPS is the perfect testament to the innovative spirit within the flight simulation community. It’s a creation from developer ResetXPDR and addresses a problem in a way that makes us wonder why it has not been implemented by Asobo in the core sim.
The concept is simple: it offers you your desired FPS by adjusting the setting that has a greater impact on it, TLOD, and – crucially – at the times when this change is most appropriate. For example, it lowers the setting on the ground, when you can’t see much into the distance and thus generally won’t notice the lower setting, which is also when your system is being taxed the most, especially in complex airports.
Then, as you climb, performance generally improves as you get further away from the ground, and you can also see more into the distance, so TLOD is increased to offer you better visuals in exchange for the improved performance as you go up. Auto FPS targets a consistent FPS, ensuring a seamless flight experience from takeoff to touchdown.
Furthermore, if the lowest TLOD setting can’t achieve your target FPS, Auto FPS can also lower the cloud quality, which also has a major impact on performance. The beauty of it all is that everything works automatically and, when the app detects performance headroom, it brings your cloud settings back to your desired level.
This video from IslandSimPilot on Youtube explains it all perfectly.
Expert Options
While Auto FPS excels in its ease of use, it also offers advanced options for experienced users who crave more control. These options allow you to fine-tune settings like:
- FPS Tolerance: This determines the amount of variance from your target frame rate before Auto FPS kicks in and makes adjustments.
- Decreased Cloud Quality Option: This sets the level to which cloud quality is reduced if necessary.
- Pause When MSFS Loses Focus: This option ensures Auto FPS doesn’t make adjustments when you’re not actively using the simulator. It’s particularly useful when using Frame Generation due to the way that technology works.
Installation and Getting Started
Auto FPS is readily available on GitHub, where users can find detailed installation instructions and additional resources. The installation process is straightforward! Just run the executable, and you’ll be prompted with the option to install, update, or remove the utility. There’s also an option to have the app auto-start with MSFS, which is very handy. Otherwise, you have to remember to start it every time before launching MSFS.
- Download Auto FPS: Head to the official GitHub repository and download the latest version. It’s free!
- Installation: Run the installer and follow the on-screen instructions.
- Launch Auto FPS: Open the program before starting MSFS or set it up to autostart, and it will do so automatically.
- Set Target FPS: Enter your desired frame rate in the program’s window. Aim to set the minimum acceptable FPS for you that is also reasonable within the limits of your system.
- (Optional) Expert Options: For those seeking more control, but the default settings are good for most people!
- Launch MSFS and Enjoy
Auto FPS in Action
Once you’ve loaded your flight and are on the ground at the airport, you’ll notice that Auto FPS immediately keeps your terrain level of detail low to give you your desired target FPS, with minimal compromise in visual fidelity because, in this situation, you generally can’t see beyond the buildings and trees in your vicinity. This ensures smooth frame rates even in complex airport environments.

As you take to the skies, Auto FPS dynamically increases the terrain detail to offer you better visual quality in the scenery below, while maintaining the FPS target.
The true test of Auto FPS’s capabilities happens during approach and landing. During descent, the program reduces the terrain detail level, ensuring that our FPS target is maintained as the airport gets closer. This results in smooth and stable approaches, allowing you to focus on your landing without concerns about performance drops and stutters.
Final Thoughts
Auto FPS truly is a game-changer for many, and it’s an easy and highly recommended little app. The GitHub page has more detailed information about all the options and all that it does. Besides, there’s a very active thread on AVSIM where the community has been sharing thoughts and tips with the developer, who is very responsive!
All in all, Auto FPS is one of the best utilities you can add to your toolkit for Microsoft Flight Simulator!


 now available for MSFS from Axonos 12")

Geoff
I downloaded Auto FPS.
How do I remove it? I deleted the file and its location. But every time I start MSFS2020, so does this program.
Michael
Have dodwnloaded MSFS2020-AutoFPS Installer (0.4.2) but it does not install. Have also downloaded Net8.0 SDK but an error is shown on my desktop:
Exception ‘System.Net.WebException’ during DownloadFile
What should I do?